Friday, October 29, 2010

Howling at the Moon


October is such a beautiful night sky month, and lately we have had lovely weather for being out and looking up in the dark.  It has been dry (at least it was up until this week), so no clouds obscure, and our nighttime temperatures  have been warm enough that we don't shiver, yet cool enough to refresh. The full Hunter's Moon from last week was as pretty and clear as I have ever seen it.

{A little parenthetical historical note:  When I was growing up, though I lived in the country with no light pollution - I tell ya' it was DARK at night, and still is - I never could see the "man in the moon" or make any sense out of star charts with constellations.  I think my vision was already that bad.  The moon was just a white disc; and I think I only saw the brightest stars and planets.  Now I look up with my glasses or contacts, and I am amazed at the texture I can see.}
Shameless copycat that I am, I borrowed from two new art teacher blogs for the lesson:  We Heart Art's Spooky Silouettes! lesson and  Fine Lines' Ghost Eye Tree lesson.  Thank you for sharing, ladies!

{Second parenthetical thought:  Perhaps I should have named this blog Copycat Homeshool Art Lessons.  KEISUZI, a teacher before she was a homeschool teacher, tells me all teachers are copycats, so I am in good company}
I began our lesson with a bit of classical astronomy.  We talked about the fall equinox, the harvest moon, and the hunter's moon.  Full hunter's moon had just gone by, so the timing was good.  After reviewing tints and shades and remembering what monochromatic means, we painted our full moons with tempura on watercolor paper, and cut out dark trees from black construction paper, gluing them on so that the moon shown through the limbs.


Oooooo.....

Then it was on to Spooky Eyes, one of the cutest little projects we have ever done.  When I showed my samples to Science Geek, I said "...if we have time, we'll do spooky eyes..." to which she replied, "Oh please get to Spooky Eyes." 


Orange cardstock, black Sharpies, and the white punchouts from a hole puncher - easy fun!  


When I read about this project originally, I misinterpreted that I was to punch holes in the orange paper and mount white paper behind to shine through.  On second, or maybe third read, I realized we were just to glue on the little dots.  Ha!  Did I feel silly!


I cut 8.5" x 11" orange cardstock into 6" x 11".  This resulted in lots of 2.5" x 11" strips.  I made one into a scaredy cat bookmark, and sent the others home with the Sm'Arties for homework fun.


Wednesday, October 27, 2010

My future's so bright, I gotta wear shades...

Inspiration for this lesson comes from  these 2 posts at Fine Lines, here and here.


Tints!  Shades!  Mixing paint!  Monochromatic still life painting!  I loved the simplicity of Ms. Christie's lesson, and wanted the Sm'Arties to get in on it.

But first, a little homework from last time:

Their homework was to use one of Catherine Horvath's pictures as inspiration for another piece of artwork.  Aren't these pretty?


Now, on to tints and shades!  We defined "tint" and "shade" and painted color strips using only one color of tempura, plus black and white.


Then we defined "monochromatic," and using only our single colors plus black and white, painted a still life of our water cups.  I painted along so I could demonstrate how simply I was putting down the paint, how streaky the color could be, finding the light source and putting in a shadow.


Love how she interpreted the "shadow" as lighter than the table.  It looks more like a reflection, doesn't it?


The boys pointed out that not only was her picture monochromatic; she and her picture were monochromatic, except for that punch of her green bracelet.


One more note from our previous time.  I made a cell model for Science Geeks, too!  I based my design on a Find It game.  (Crispy introduced this game to us - it is addictive!  One of those may make it to our house this Christmas - don't tell!)  Mine was made in an empty mayo jar,  and contained organelles you had to search for, turning to move aside the cytoplasm (cut up drinking straws).  Let's see:  I can see the green nucleus and the yellow lysosome, and orange endoplasmic reticulum.  The gold lightbulb and the stamp...cannot recall what they are, and am not going to pull out Earthgirl's folder to find out.  Mama's perogative.


Saturday, October 16, 2010

Fall colors in Perspective

Perspective - again!  I think these lessons on perspective will yield art projects that the Sm'Arties will be happy to claim. 

Our Sm'Arties lesson this week is inspired by these very pretty acrylics by Catherine Hogarth, a contemporary artist who lives in Canada. I love her use of perspective and her vibrant colors.  I first saw her works on the MoxieFabWorld blog, in a Tuesday Trigger paper craft challenge. When I saw that first picture, I gasped mentally - so pretty!  I would love to have one of her pictures hanging above my fireplace - oh, wait, I don't have a fireplace. 


Sm'Arties remember what "contemporary" means- at least 2 of them do.  We learned about contemporary artists when we did a project inspired by the art of Bernard Hoyes last spring.  I showed the Sm'Arties copies of Ms. Horvath's pictures printed from her website with her permission - Thank you!

The Sm'Arties each chose a picture to copy and went right to work with pencils first.   I had a mix of simpler and more complex pictures.  The Sm'Arties surprised me by ALL picking the complex pictures, assuring that art class would go over time.  Good thing Art is the last class of the day. The pumpkins picture was the favorite.


No shading!  We'll do shading with our
watercolor pencils!


I have several brown pens I use for scrapbooking and in my Ephesian journal.  I love brown pens - instant vintage.  The Sm'Arties used them to outline over their pencil lines.


Time to shade in with watercolor pencils.  We used LOTS of red, orange, gold, pink, and brown, often mixed together.  I encouraged them to color hard, but allowed them to go lightly if they preferred.


The last step is to wash the colors with a wet paintbrush, which makes the colors pop and allows more blending.  Wetting these colors always makes an impact. 


This lesson so nicely reinforces the perspective drawing we have been learning.  For homework, they all took a picture or two home to do using whatever coloring media they choose.  I am looking forward to seeing the results!


Thursday, September 30, 2010

Getting Perspective

This week's Sm'Arties class is inspired by this little handout from Practical Pages (Now THERE'S an on-the-ball homeschool Mum!  I love knowing that many many miles away (or kilometers?) another homeschool family is reaching out to share the wealth of their knowledge and resources Thank you, Nadine!). 

Now that we have our pencils sharpened, this week we did a few quick drawings to demonstrate perspective.  As I was drawing along, I encouraged the children to do "kindergarten-style trees" - quick, quick!

Their homework is to bring back 7 little drawings on a  sheet of 11"x17" paper, showing these seven laws of perspective.  I hope they all "see" foreshortening better than I do :)  I expect this little lesson to yield fruit in the way of better drawings and paintings all year long.  I wish I had learned this when I was a child.

I took one single picture, and then my camera's battery quit.  Here's the picture:

This Sm'Artie's line of trees show both  principles that things nearer are drawn larger and further down on the page.

Monday, September 27, 2010

Pencil in a new schoolyear

I have so many plans and inspirations for this Sm'Artie year - many more than we can do!

Who wouldn't be excited to see these Sm'arties ready for art? 


I want to enjoy making and exchanging Artist's Trading Cards (ATCs).  I want us to paint on rocks.  I want us to learn to draw a little better.  I want to introduce the Sm'Arties to real oil paint from little tubes that stays wet for days.  I want us to carve rubber stamps.  And I want us to learn about art, artists, styles, movements. 

I'm editing pictures so we can have a fresh blog header, and having fun with Picnik.com.  I just love our last year's picture, but it's a new year!  By the end of the week, I want a 2010-2011 picture smiling from the header.

Kathy at Art Projects for Kids starts her students with fresh pencils, and I thought we would, too!  I bought a box of Ticonderoga pencils, gathered my Sharpies from their migratory summer homes, and let the Sm'Arties have at it. Did I tell you that I just love Sharpies?  So do the Sm'Arties.

I offered little strips of yellow cardstock if they wanted to work out a design.  (I don't like that cardstock anyway - I was glad to chop it into strips)  There were tiger stripes, polka dots, some kind of marbly-looking design, just plain stripes - lots of fun; no wrong answers.


 Once pencils were all decorated, they drew a still life - a little stone bird in a tall skinny cage - just a little something decorative Peg has sitting in the corner of her dining room. 

It's kind of hard to take a picture of a group drawing a still life, and include the still life in the photo.  What you get is mostly the space between:


 During Science Geeks class, the group was divided into teams - girls vs. boys.  Since our group is more heavily weighted toward masculine, JD was on the girls' team.  He returned to character several times in the course of the afternoon.  He is quite the ham.


It's great to be back!

Monday, September 13, 2010

While we are waiting for Sm'Arties to start again...

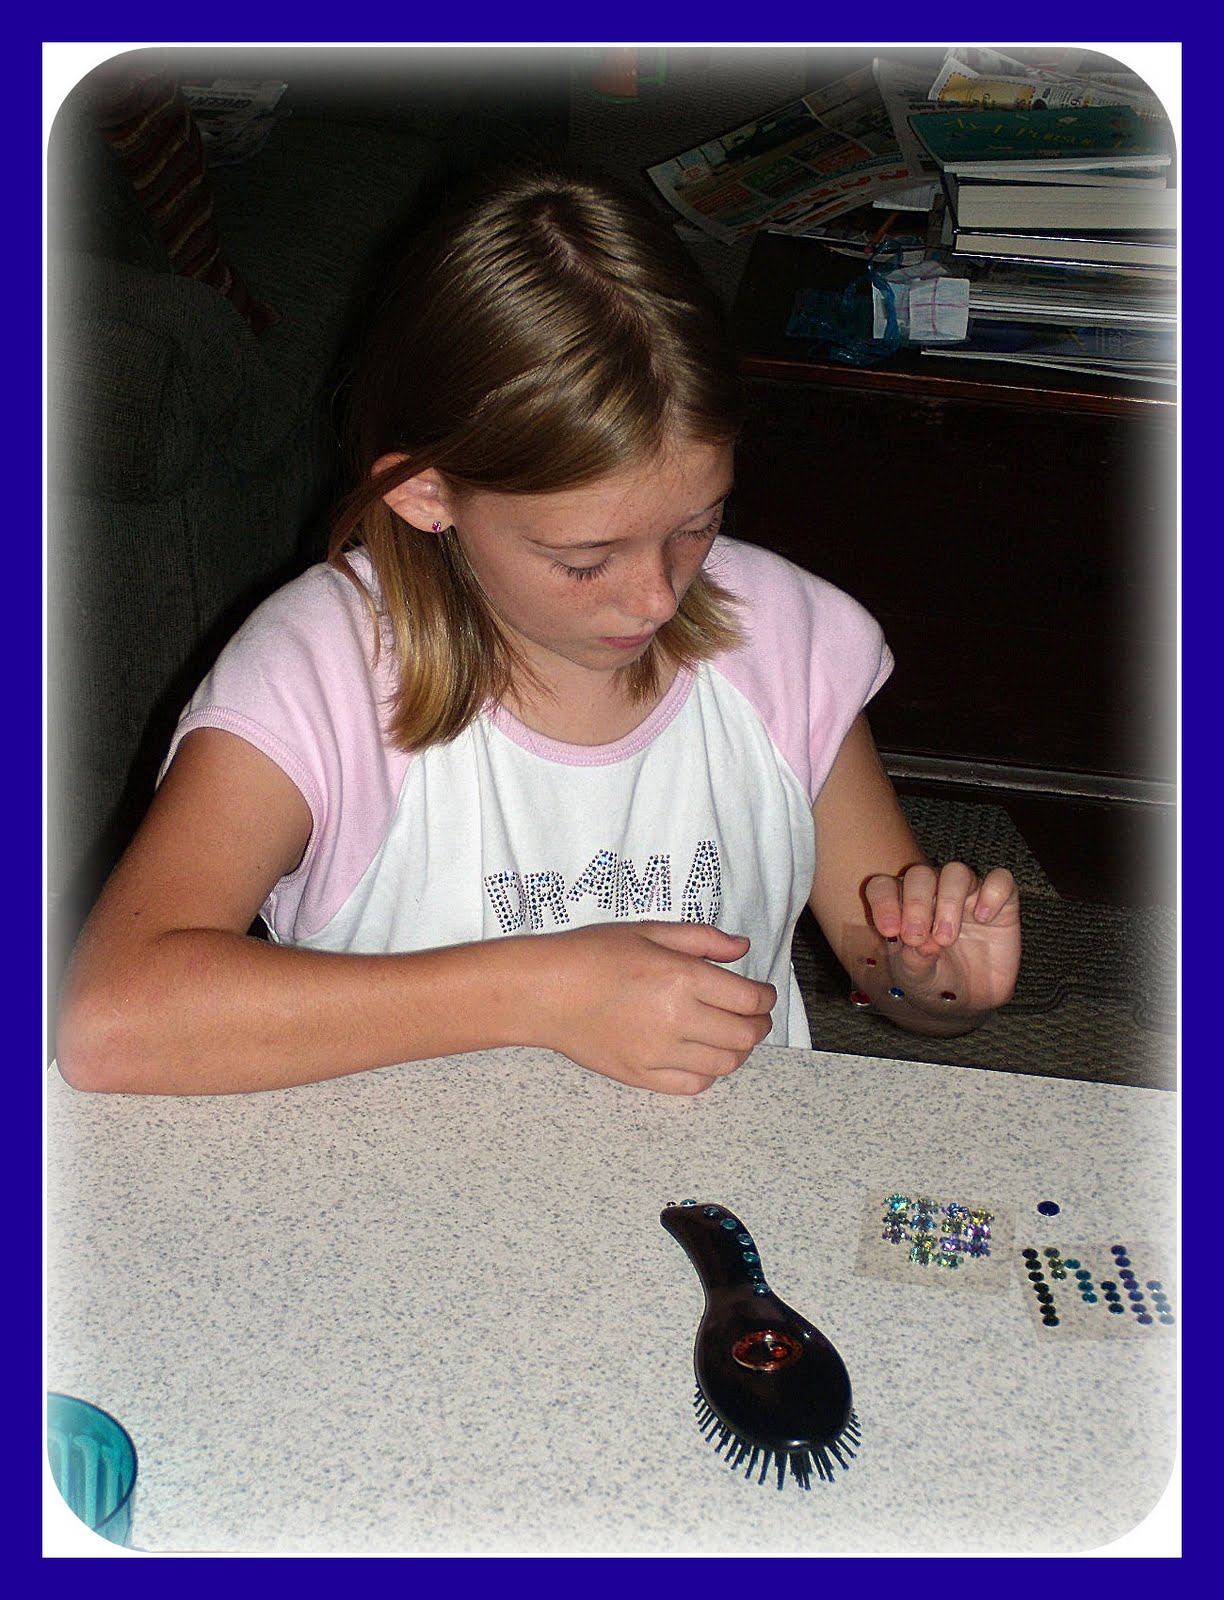
...this has got to be the easiest birthday party craft ever!


Hairbrushes from Dollar Tree, stick-on "jewels" from the fabric crafts section of Michael's.


The results are sparkly-spectacular!


My definition of a successful birthday sleepover:


Nobody cried.
Nobody threw up.


Thursday, August 12, 2010

Last Tie Dye of the Summer

This has turned out to be the Summer of Tie-Dye.  I've tie-dyed with Sm'Arties, family friends, Gymnastics Camp, and now one last Gymnastics Camp. 

It was hot out there.  Again.  I wound up with wrinkled blue fingers.  Again.  But the children LOVED it!  And so do I.

Right after our last Gym camp, when my fingers were still cramping from wringing T-shirts, Earthgirl had a friend over, and she arrived wearing a tie-dyed BANDANA made at another camp.  Bandanas!  Easy rinsing and wringing, and space-saving!  I determined immediately that my next group tie-dye would feature bandanas.  This worked out doubly well, since some of the children from Session 1 returned for Session 2.  Hobby Lobby has nice, big bandanas for $1.  If you have a 40%-off coupon, your first bandana costs only $.60.  Woo woo!

We tie-dyed with 49 children.  Wowee, if we had used all T-shirts, I'd still be rinsing and wringing now!


Tulip's Turquoise was our favorite color.  Almost all the bandanas were dyed blue.

Lesson learned from my first experience using bandanas:  Since they are not as squashy as T-shirts, they should be tied up really tight, or the dye seeps in and none of the lines will be really sharp and white.  The ones in the picture above appear to be solid blue, but they all turned out well. 

Bandanas would also be great used with the spray "tie-dye."  We used this to "tie-dye" T-shirts at Earthgirls 7th birthday party, the 70s party, and it is easy. 

The teens did T-shirts again.  While the younger groups get only 1 dunk (it's all we can do to get the whole group finished as it is), the teens have free rein to get creative and dye all afternoon if they want to.  Of course, they do their own rinsing and wringing. (Rinse and wring, rinse and wring - doesn't that phrase just sing in your head?)  The teens did some purty shirts.


So now the question arises:  Should I tie-dye bandanas with the Sm'Arties?  Maybe in November!